Guided installation steps for Ubuntu Server
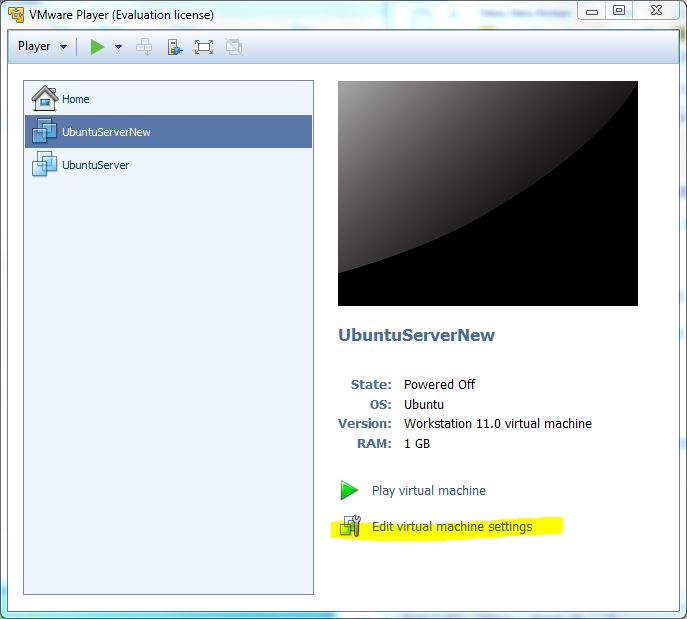
1. Open VMware Player and click “Edit virtual machine settings”.
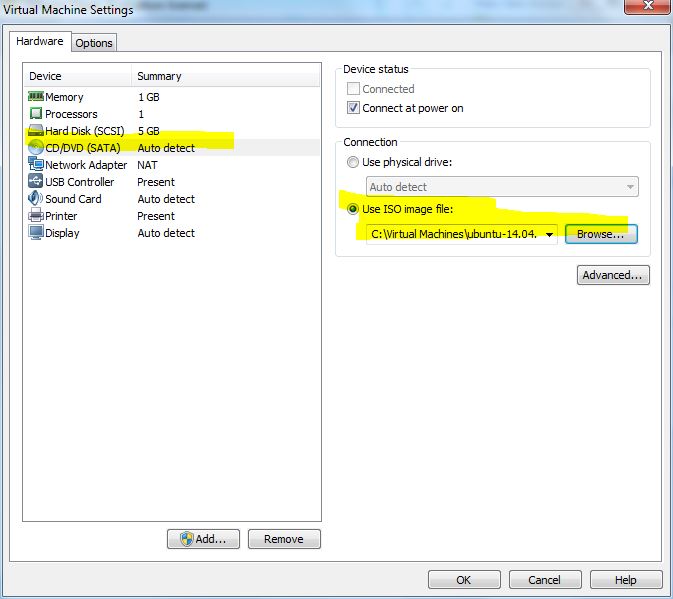
2. On the Hardware tab, Click “CD/DVD” and change the “Connection” radio option to “Use ISO image file”. Click “Browse” to navigate to where the Ubuntu installation ISO image file was saved. Select the ISO file, click “OK” and “OK” again to exit the Virtual Machine Settings dialog box.
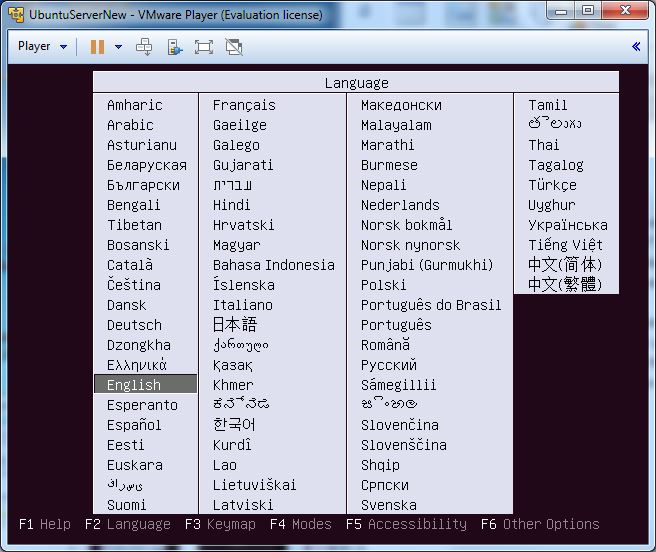
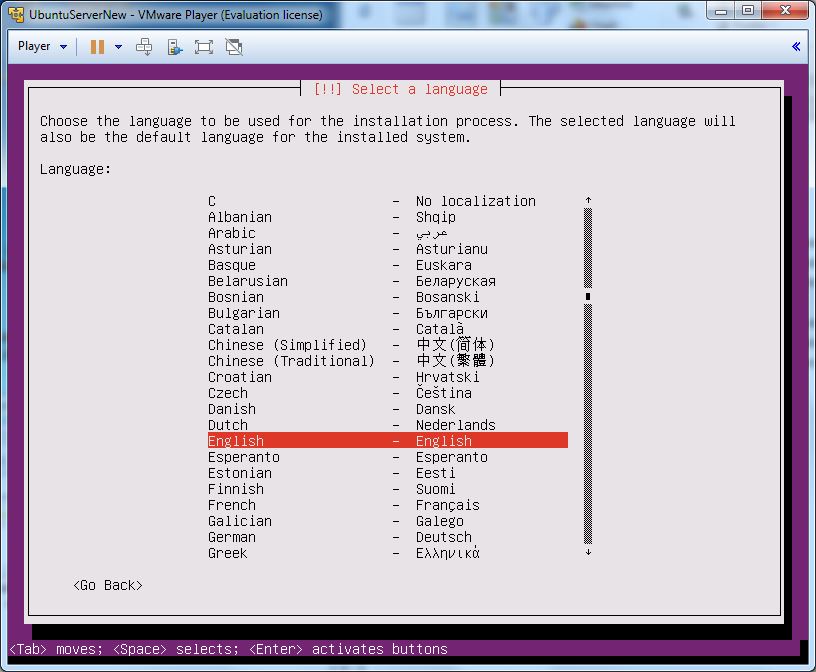
3. Start the virtual machine. The installation ISO is read. The setup environment is keyboard-based only (no mouse support). Select your preferred language when prompted.
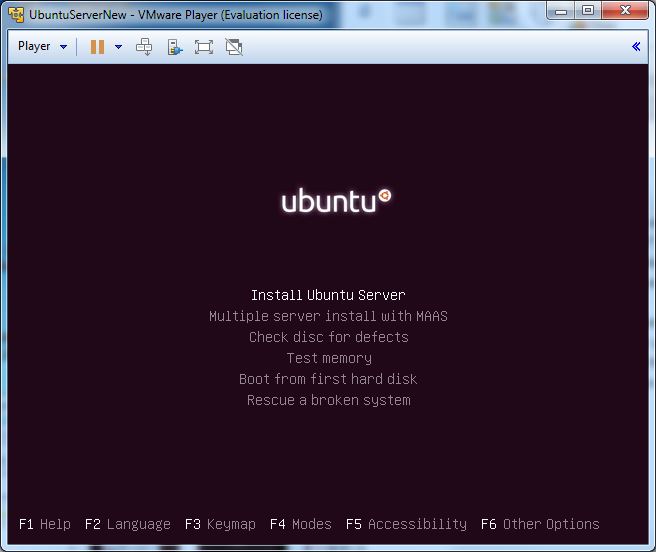
4. Select “Install Ubuntu Server” when the installation menu appears.
5. Again, select your preferred language when prompted.
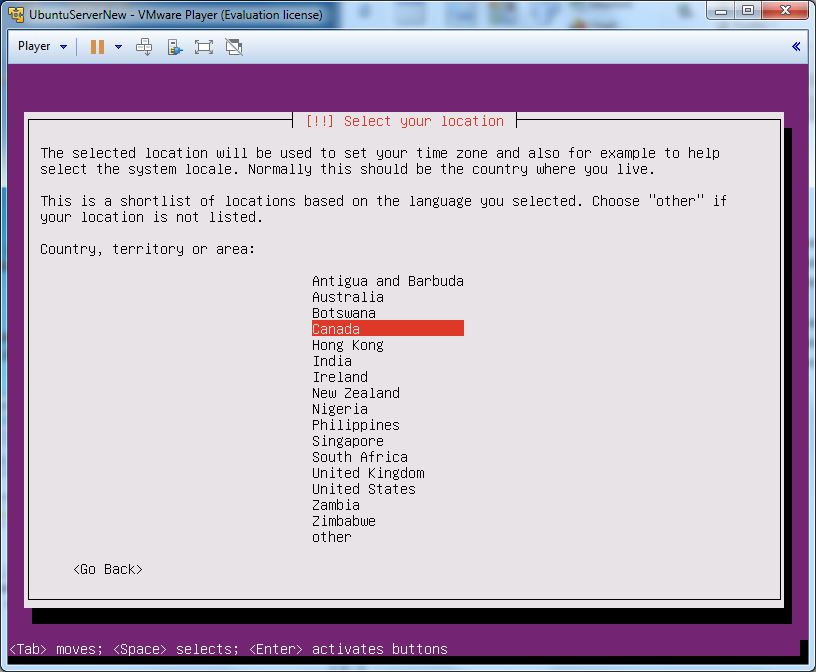
6. Select your location when prompted.
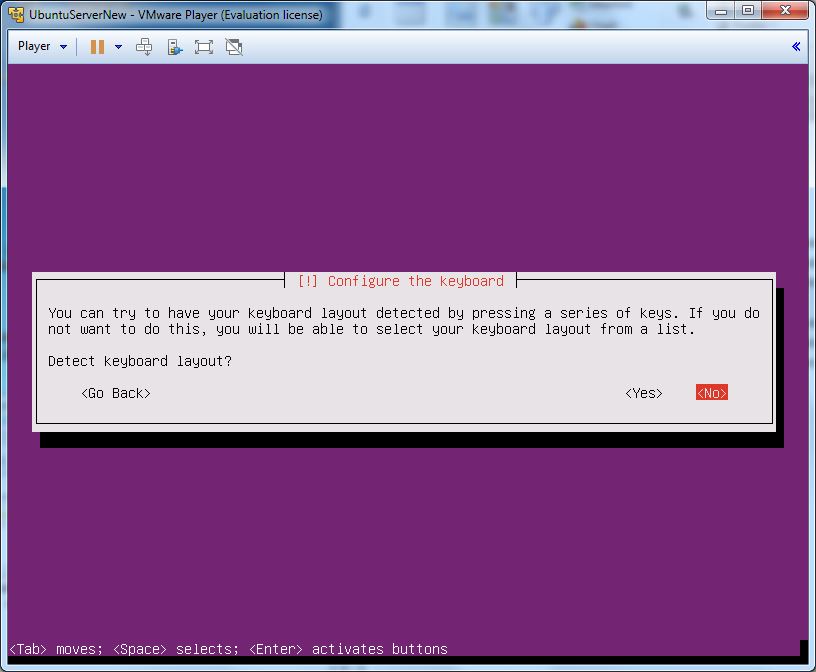
7. Select “No” to detect keyboard layout.
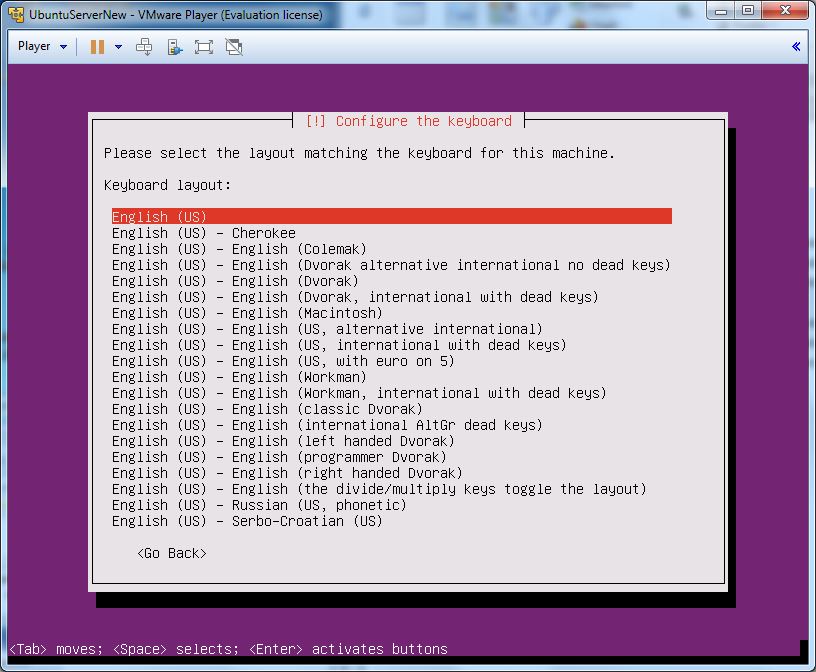
8. From the list, select the best match for your keyboard layout.

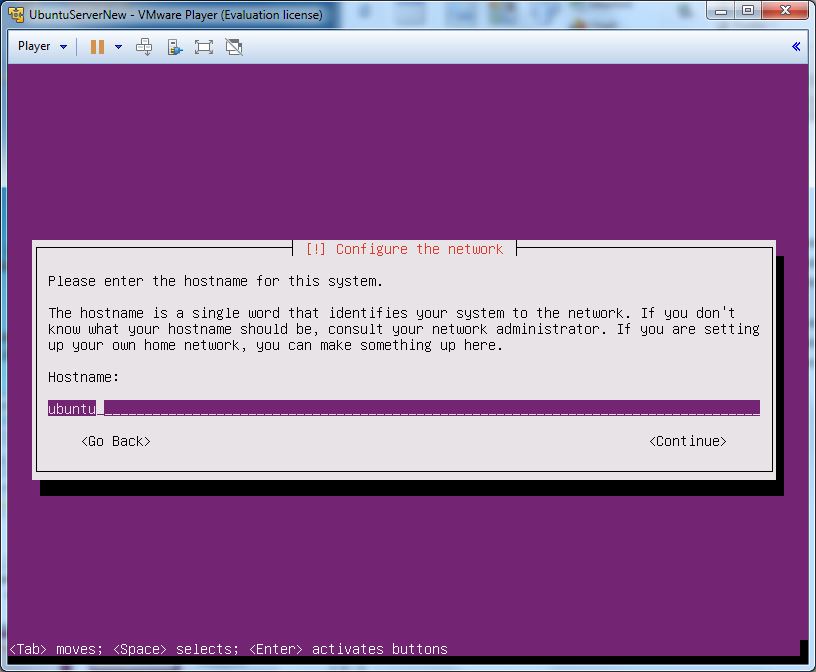
9. Enter a hostname of your choice for the system.
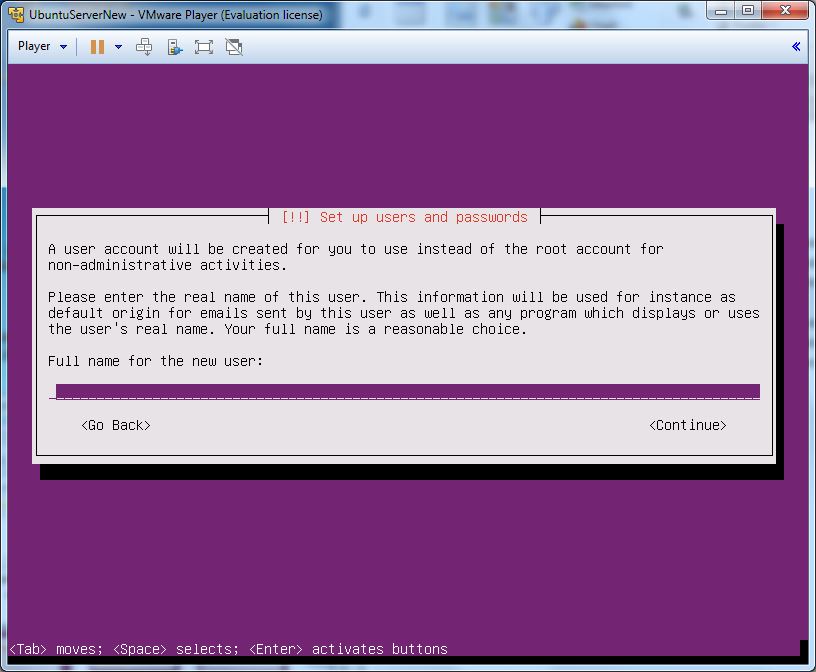
10. Type the full name of the first new user on the system (likely your name).
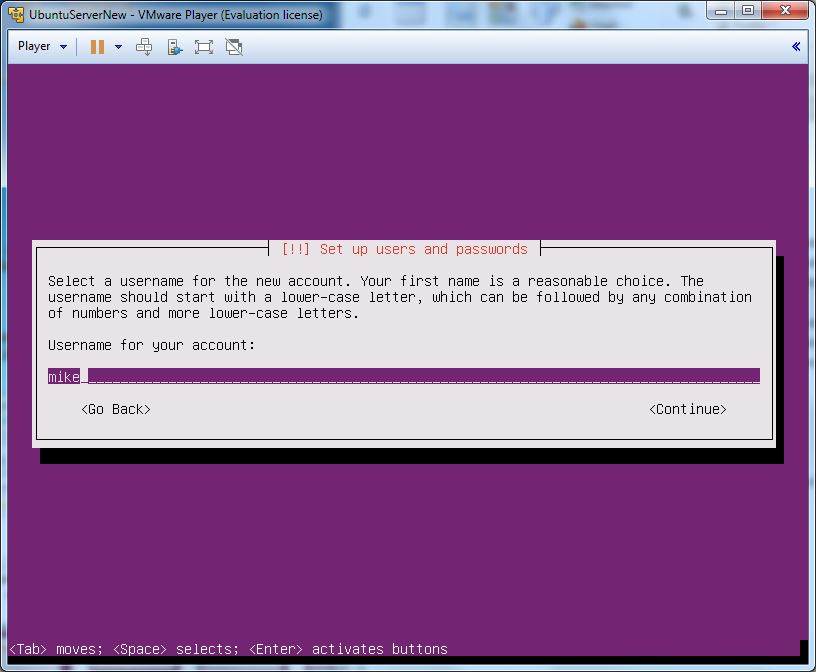
11. Type the username for this new user. This will be used to log in to the system.
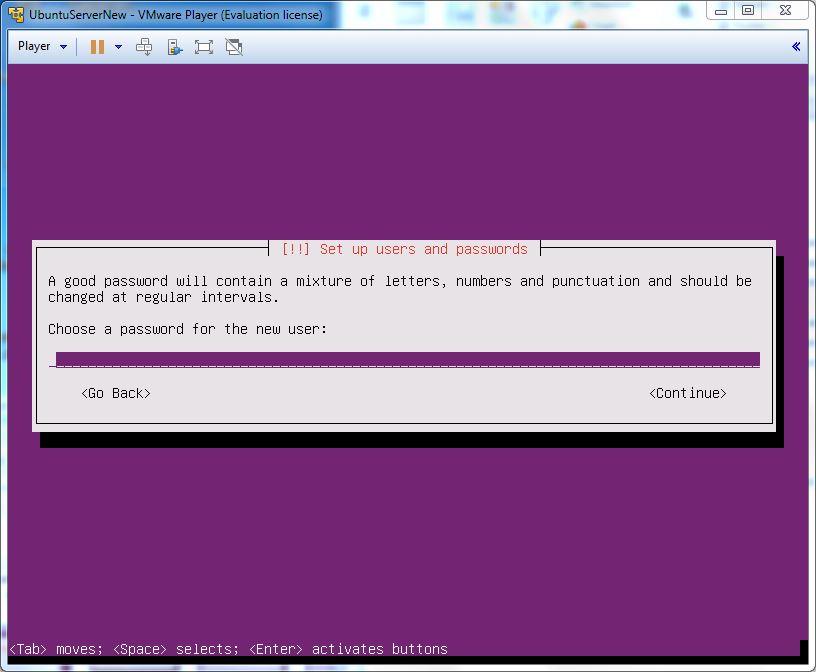
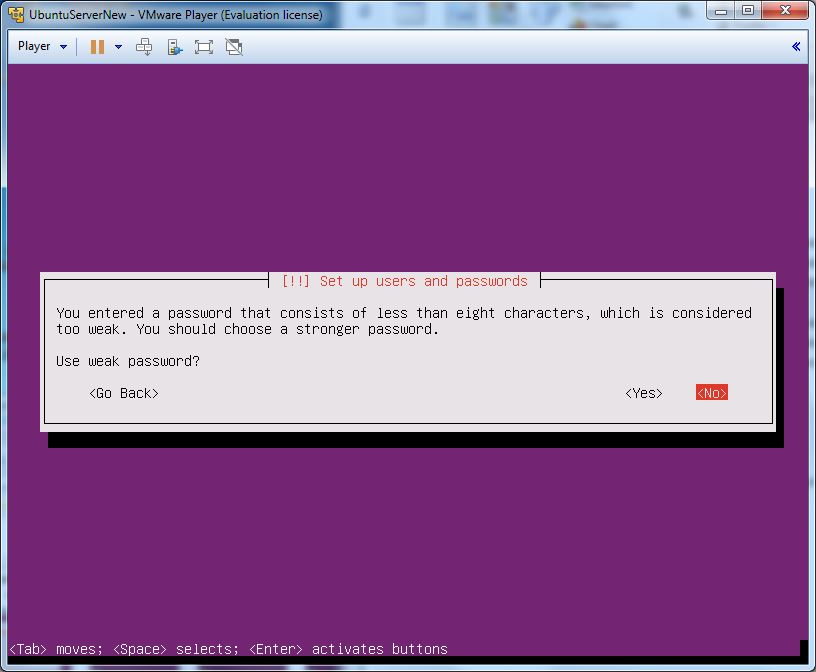
12. Choose a password for the user. If selecting a weak password, you will be prompted to confirm or select a new one.
13. Encrypting the home directory is not necessary for the purposes of this topic; however, it should not cause any problems if you do.

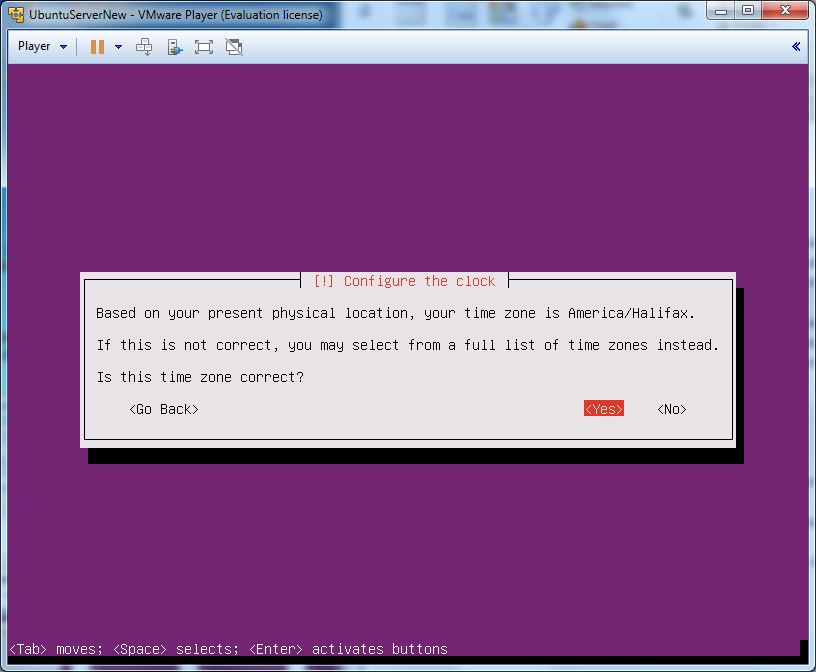
14. Accept the time zone as presented, unless it is incorrect. Select the correct time zone if necessary.
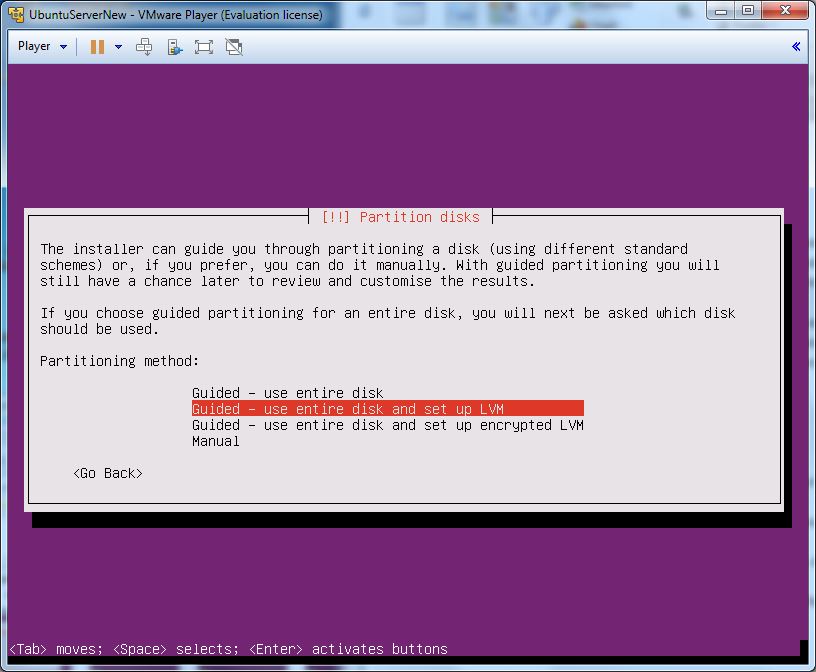
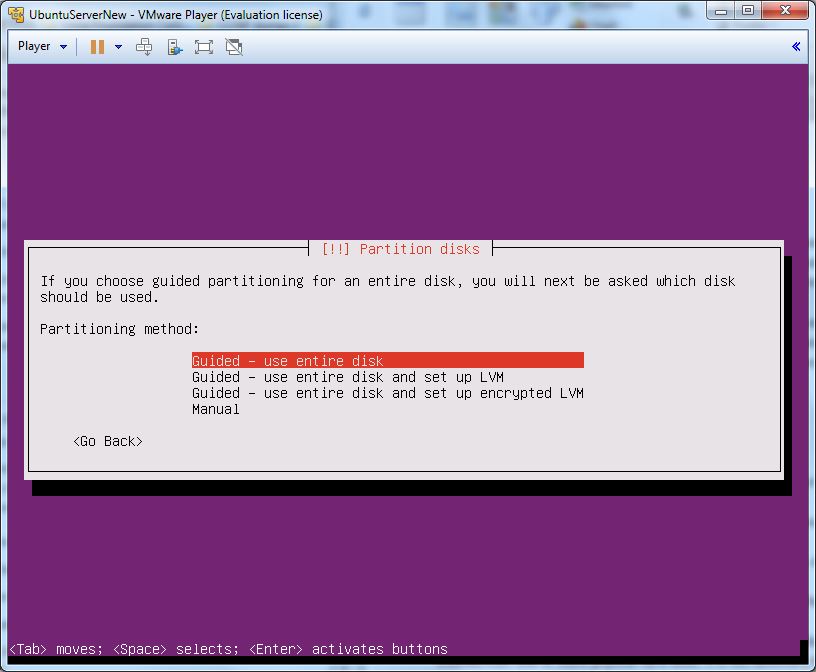
15. LVM (Logical Volume Manager) is a partitioning approach that allows logical volumes to be created from one or more physical hard disks. It is not necessary for the purposes of this Learning Object. Select “Guided – use entire disk” or “Guided – use entire disk and set up LVM”. [1]
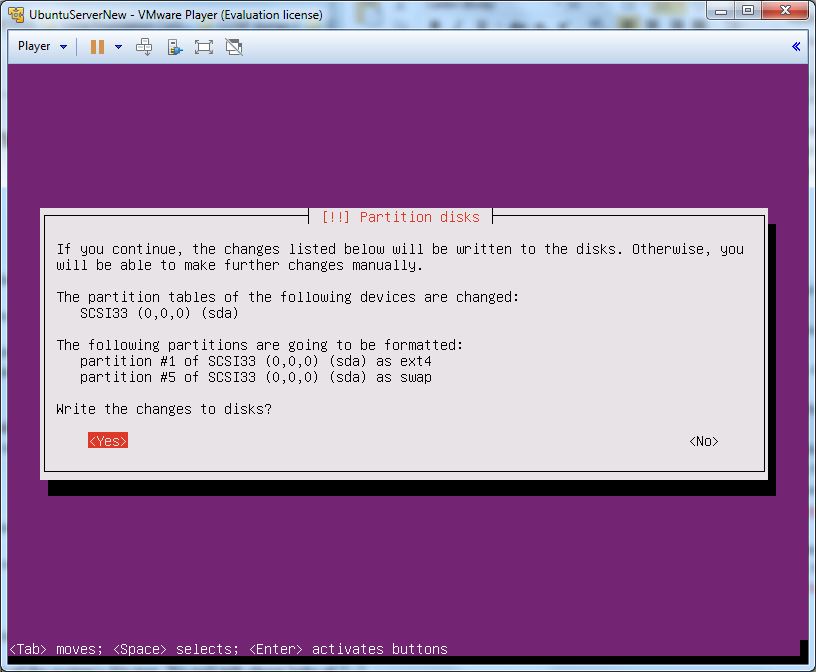
16. Two parititons will be created by default: an ext4 native Linux filesystem to hold the entire filesystem hierarchy (directories and files); and a swap partition, that is used in conjuction with system memory to improve performance. [2]
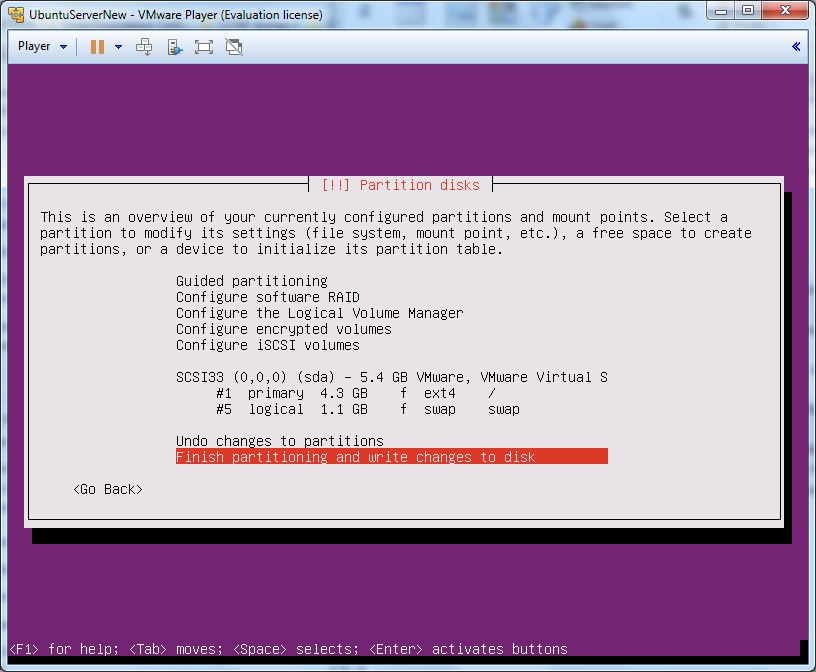
17. Select “yes” to write the changes to disk.
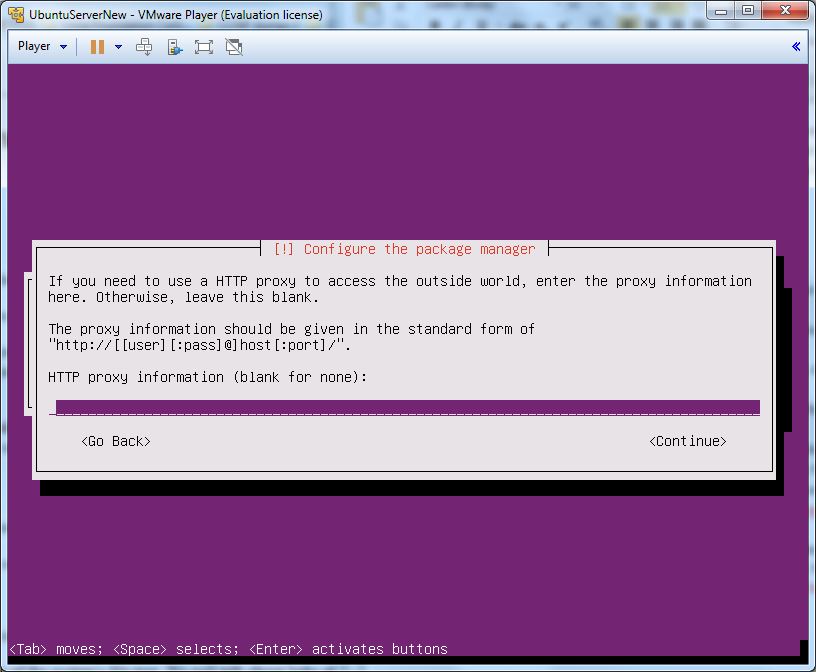
18. Unless using a proxy server in your network environment, leave this blank and continue.
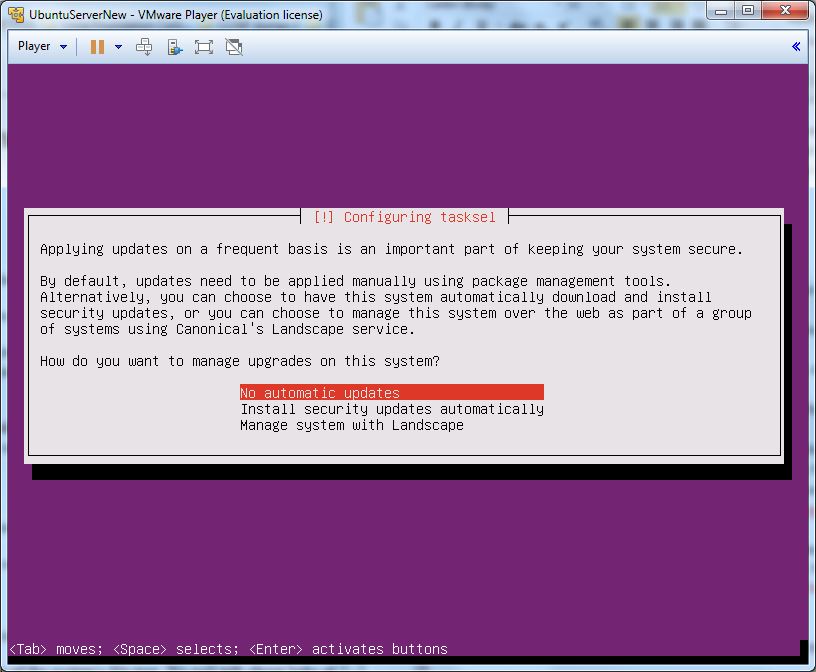
19. For a test server, you may want to leave automatic updates off. It is recommended to enable updates for production servers, however. Regardless, packages can be updated at any time in the terminal environment by using apt-get upgrade [3]
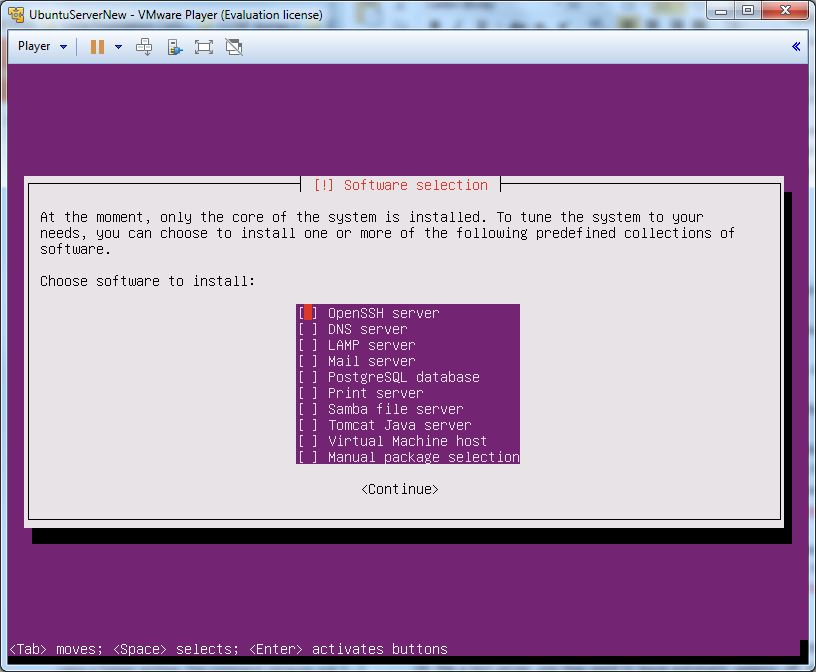
20. There is no need to install any additional packages at this point. Any of these packages can be installed at a later time using apt-get install [3]
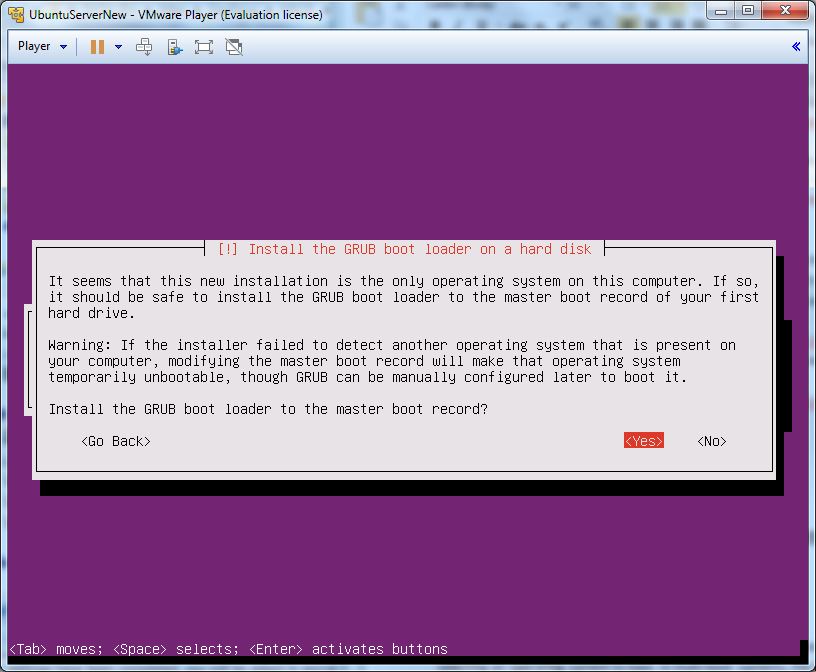
21. A boot loader takes over after a system completes its POST (Power On Self Test) with the task of selecting an operating system to load. In multi-boot systems, the boot loader selects between installed operating systems. Linux boot loaders can be used to boot Windows systems; Windows boot loader can be used to boot Linux systems. In this scenario, Ubuntu Server is the only operating system being installed, so allow the GRUB boot loader to be installed. [4]
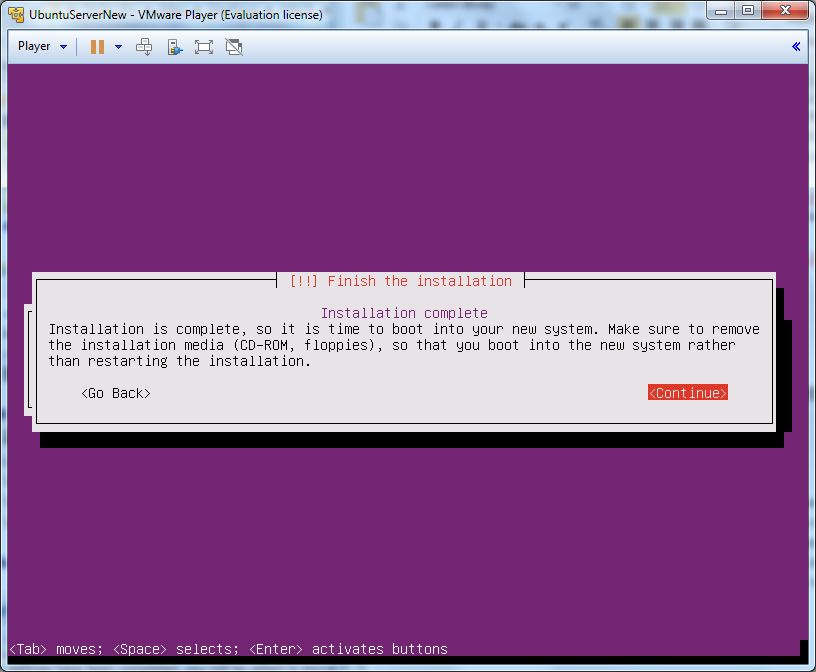
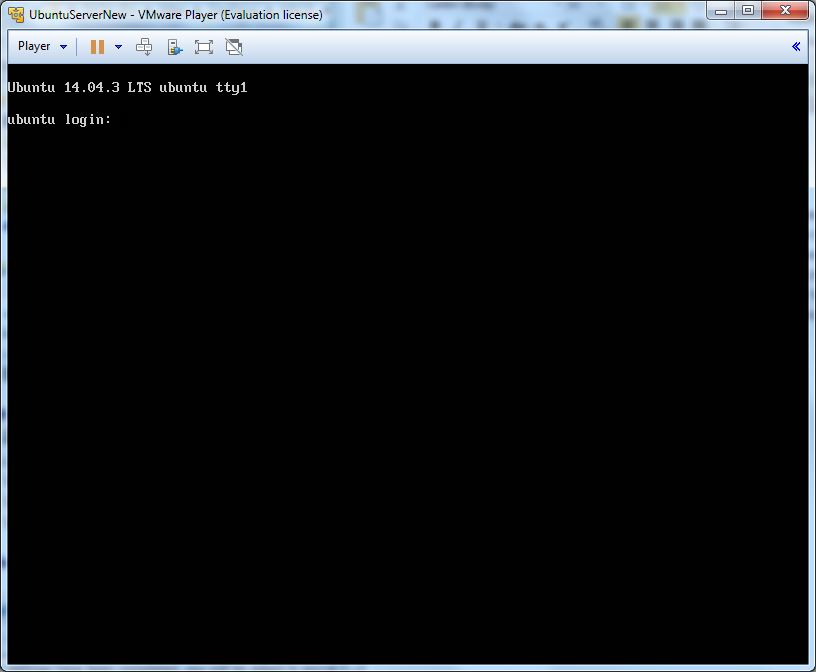
22. The installation is complete! The system will restart and, if successful, present a text-based login screen.
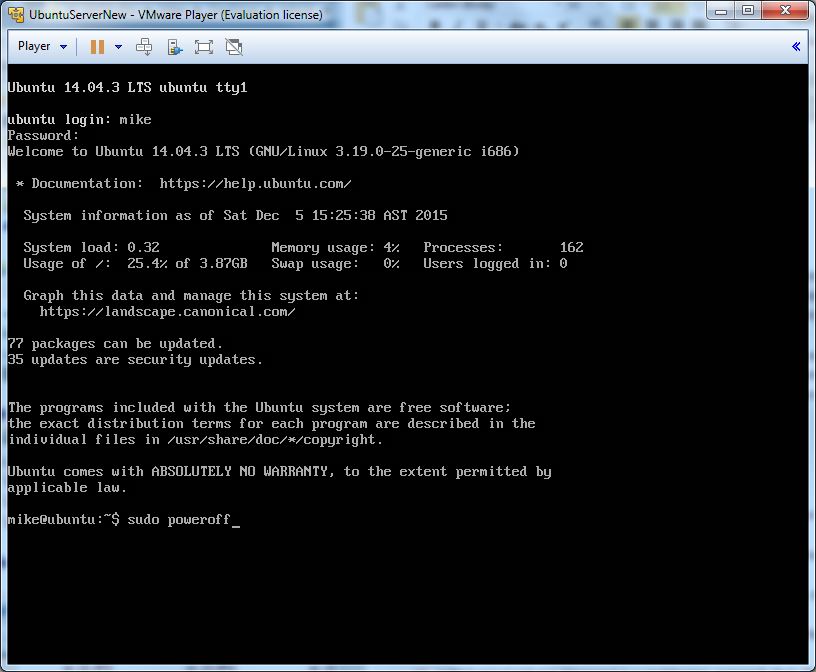
23. To safely shutdown the Ubuntu Server, when desired, use the terminal command: sudo poweroff [5]
References
[1] Logical Volume Manager (LVM)
https://help.ubuntu.com/lts/serverguide/advanced-installation.html#lvm
[2] General overview of the Linux file system
http://tldp.org/LDP/intro-linux/html/sect_03_01.html
[3] apt-get manual page
http://manpages.ubuntu.com/manpages/saucy/man8/apt-get.8.html
[4] Grub2
https://help.ubuntu.com/community/Grub2
[5] poweroff manual page
http://manpages.ubuntu.com/manpages/precise/en/man8/poweroff.8.html